Sunday, 6-June-2021
KIA Ceed JD 1.6CRDi - disks and pads replacement
EN
In this article will present you something really casual. How to replace rear pads and disks on KIA Ceed.
That one is with normal handbrake not electric one. So, for it there isn`t anything special, or GDS used.
The theory starts here:


You can click on any of the images to get them in bigger size, and here the rest of what I`ve done:
wheel off, you see what to work with:
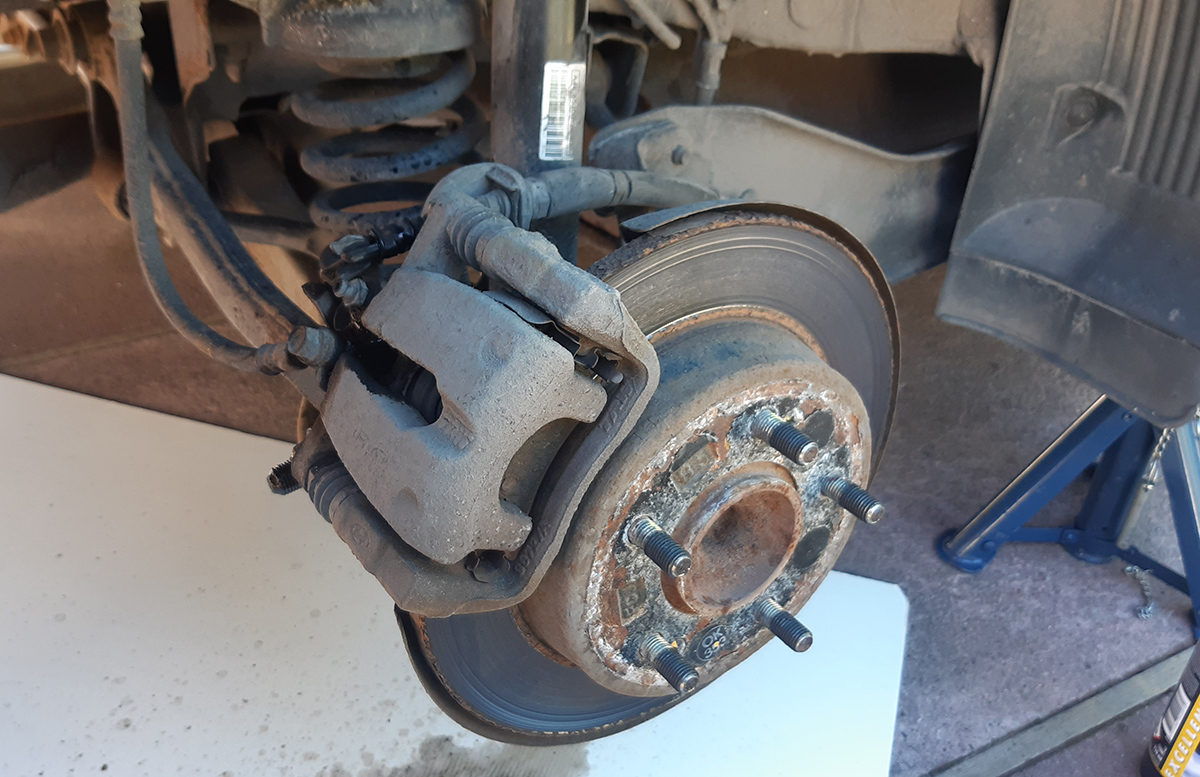
perhaps you see the rust. Is not much but still present. That is 2014 model, driven since the summer of 2014 and currently at the moment of repair:143 500km on the clock
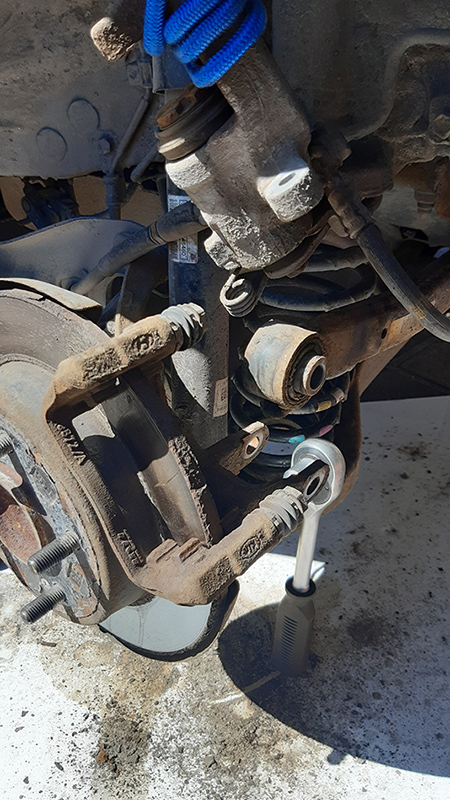
That shot is from almost ready job, just to show you what tool I`ve used for the big holding bolt and it is really handy:

If not, use what ever torque gun or spanner suit you, but be advised that is a bit rusty (on the surface) and tight.
In the manual it said to remove the pipe and the handbrake cable. I didn`t do any of that.
What I`ve done was:
- open the brake fluid tank cap
- loose the two bolts keeping the brake pads body
- with screw drive loosen a bit between pads and kept it hanging it on elastic band:
- then time for removing the big bolt. Taking it out, will open space to remove the second bolt holding the bracket:
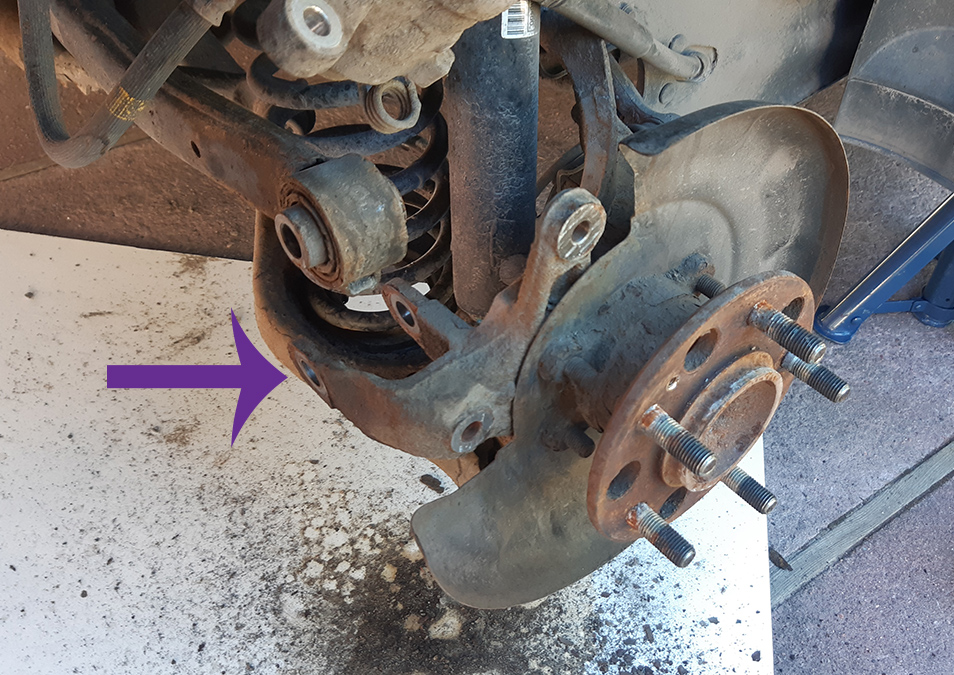
All that removed and the disk is free to be taken out.
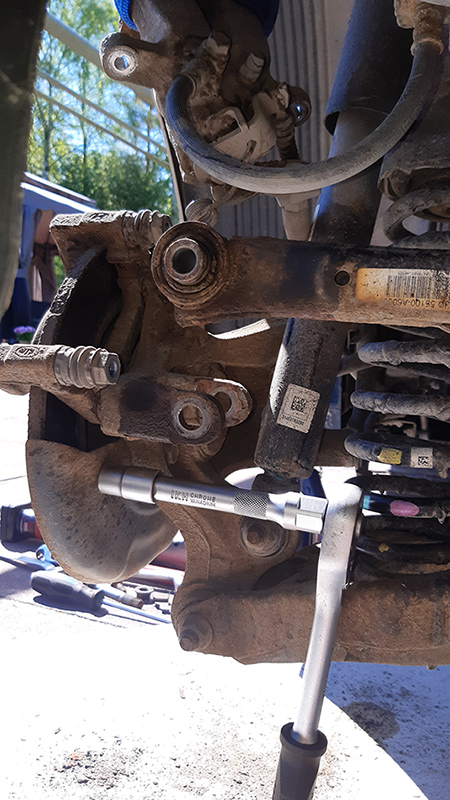
Using special dedicated tool, I push the piston back rotating it. Fit all backward.
With piston returned, there is plenty of room to fit the caliper body. Few pushes of the break pedal and then test the handbrake.
In the manual it claim that inside the cabin some plastic should be removed and the cable adjusted but in my case I didn`t need to do that. When test mine it locked quite well even from 2th-3th teeth locked.
One thing that you should be careful, when fit the arm back , you should lift a bit the bottom holding arm to be easy for the upper (loosen one) to be guided back, and then when the bolt is on place, do not tight it.
Lift the bottom one to the approximate level where usually wheel stay in regards to the chassis, and when ready tight to the torque mentioned in the manual. In that way, the rubber element will be in the right forced position as normal ride and will stay in good shape. Otherwise if tight it on max when wheel “hang” it will be twisted in normal condition ride height and get broken easy and in short time.
That`s all.